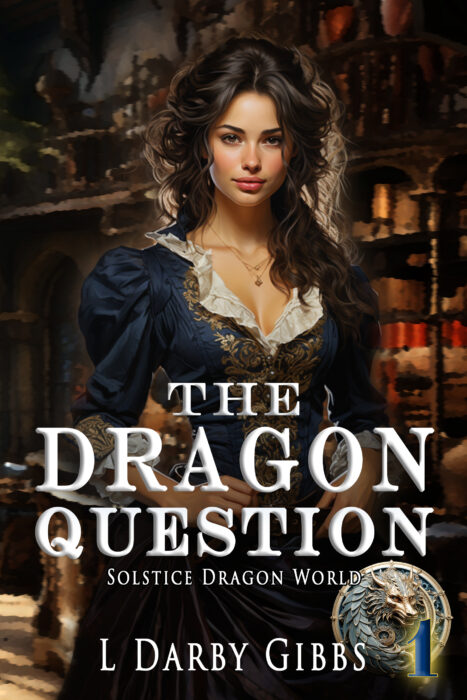
I thought that since I just finished the improved version of my book trailer,
that I should talk about what I used to put it together. The main
programs (Adobe Photoshop and Adobe Premiere) should be no surprise. The
pictures were standard digital images I took with a simple digital
camera. I opened them up in Photoshop and worked them into what I
wanted for the video. My nerg box is actually a picture I modified of a
large safe. There are no real nerg box prototypes for me to take
pictures of, so the safe was a great replacement. Another picture I
took, which was of a wooded area with a path, was also easy to modify in
Photoshop. The path actually led up to a lake shore, but that is not an
image needed for my book. I erased the unnecessary water feature which
worked out nicely in the video.
I then used Adobe’s
Premiere Pro video software to set up my video. I uploaded it to my list
of media the pictures I had modified, and some animated backdrops and
royalty free music (I’ll mention those sources later in this blog).
From that point on it was just a matter of entering titling, video and
audio transitions, though I did have to modify one of my animated
backdrops. It was actually blue, but I wanted to have a pale white,
rather murky movement going on in the background because my character
travels in time, and the process takes him through a place between
future and past that is rather like a bright foggy day where nothing is
clearly visible. This modification was not hard to do. Using a feature
called fast color corrector under video effects, I was able to remove the blue tint
and raise the intensity of the brightness. Dropping in my media by
layers and resizing a few pictures was the last of the easy parts.
Preparing the titling was the most challenging. I had to come up with
what I wanted my viewer to read, but also select text size, placement,
font, animation and color. I worked on titling the most because I wasn’t sure
what sizes and fonts would support my story, and I didn’t want them to
upstage it either. My most important tool ended up being my daughter.
After awhile I would get too immersed in the process and just couldn’t
step back far enough to get it an unbiased look. I would have her
watch and tell me what she thought needed more visual work, and then I
would go at it again.
My source for the music and animated backdrops was
Digital Juice. A person can find all sorts of useful items at their
site, from backdrops to motion design elements, such as snow falling, frames,
and revealers. They are priced reasonably and well done. They also have music useful for every genre imaginable. The packages include some with variety and well as music under a single genre. So you could order music that is space age
in style, country, jazz or inspiring, etc. What makes the music
selections so great is that they are provided in various lengths that
usually run in 15 seconds, 30 seconds, one minute and full length (anywhere from three minutes to a bit over four). Having the different lengths already cut to fit make selecting music easier, though selecting the piece for the mood I wanted definitely took time.
I ended up choosing four or five, dropping them into my media list and
trying each one out with the visuals I had laid out out on the timeline in
Premiere.
Now I had all this available to me because my husband and I had been involved in videography for a few years, and we kept our equipment and software after we got out of the business. I won’t say that authors need to purchase all these items to make a good trailer, but if you think you are going to be making several trailers over time, these particular software programs and animations do offer advantages.
